_________________________________________
_________________________________________
_________________________________________
i made a NEW workbench.
i used the reception desktop i got from EA Chicago.
before this new bench, the desktop was in my bedroom.
i had been using it as my 'workbench' in there.
there were a few BIG problems with that:
a.)
the desktop was very unsteady.
it just sat unsecured atop a few cabinets.
it was sagging in the middle - unsupported.
i couldn't do REAL work there.
b.)
its dark in my bedroom.
theres no tunes, either!
not good for working.
i always want to do little projects..
..but i rarely used the crummy 'workbench' in my bedroom.
so..
i made a NEW workbench.
now its in a great location!
and it is very strong and sturdy.
this is how i did it in 50 steps.
_________________________________________
_________________________________________
_________________________________________
_________________________________________
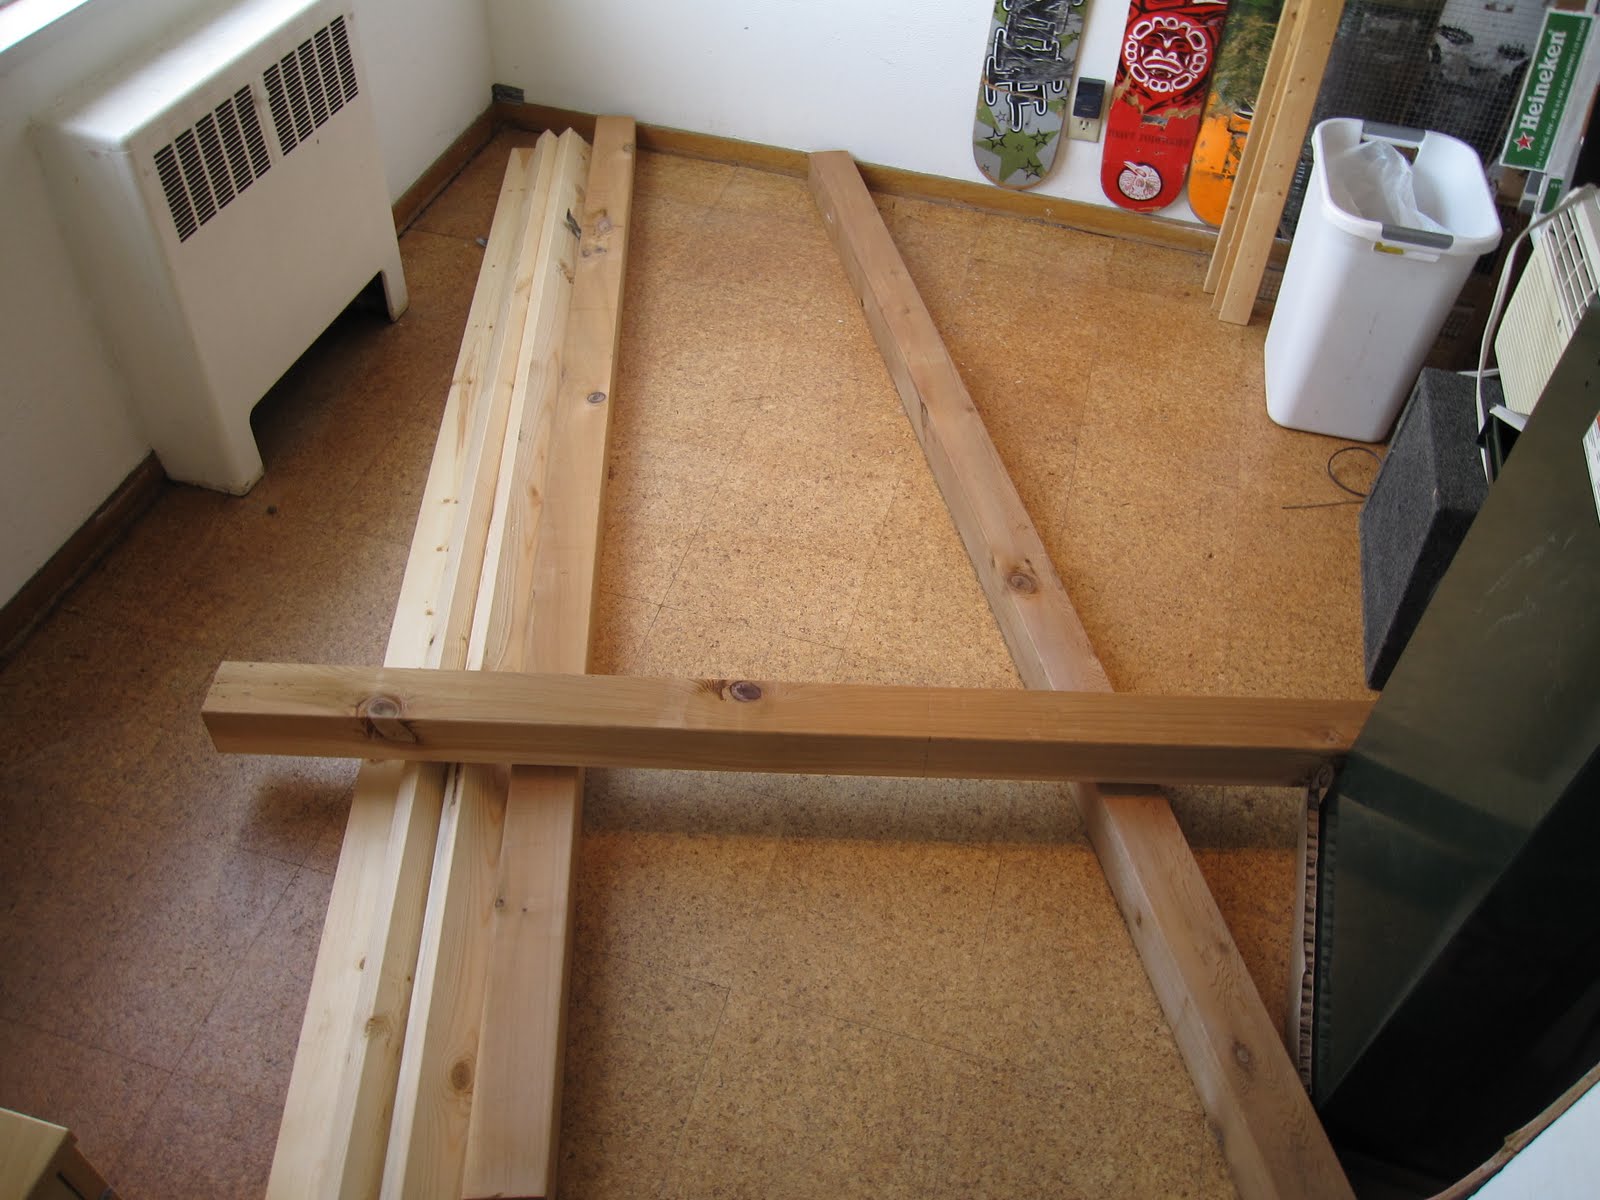
PART ONE - PLANNING + MATERIALS
0.)
i decided this empty space off the living room should be used.
"wouldn't it be great to have all my tools by my desk!?"

1.)
there is a great view and great natural lighting.

2.)
a nice place to make stuff, fix things, and think.
or take breaks from working to gaze at the mountains!

3.)
i temporarily mocked it up to see how the space felt filled.
i used closet doors and stacked cabinets to level the desktop.

4.)
took some measurements.

5.)
made some plans.

6.)
picked out some good wood.

7.)
all aboard.
get it?

8.)
plenty of room in the jeep for all of these 8-footers.
the cedar smelled great.

9.)
i have an eye and technique for good wood.
i picked out some straight and strong lumber.
my last job before EA was at a lumberyard.
i fell back on that particular expertise.
(glad to have developed it)

10.)
lumber laid in its new home.
3 - 2x4x8'
3 - 4x4x8'
1 - 1x4x8'

11.)
pretty excited about building this, having fun!

_________________________________________
_________________________________________
_________________________________________
_________________________________________
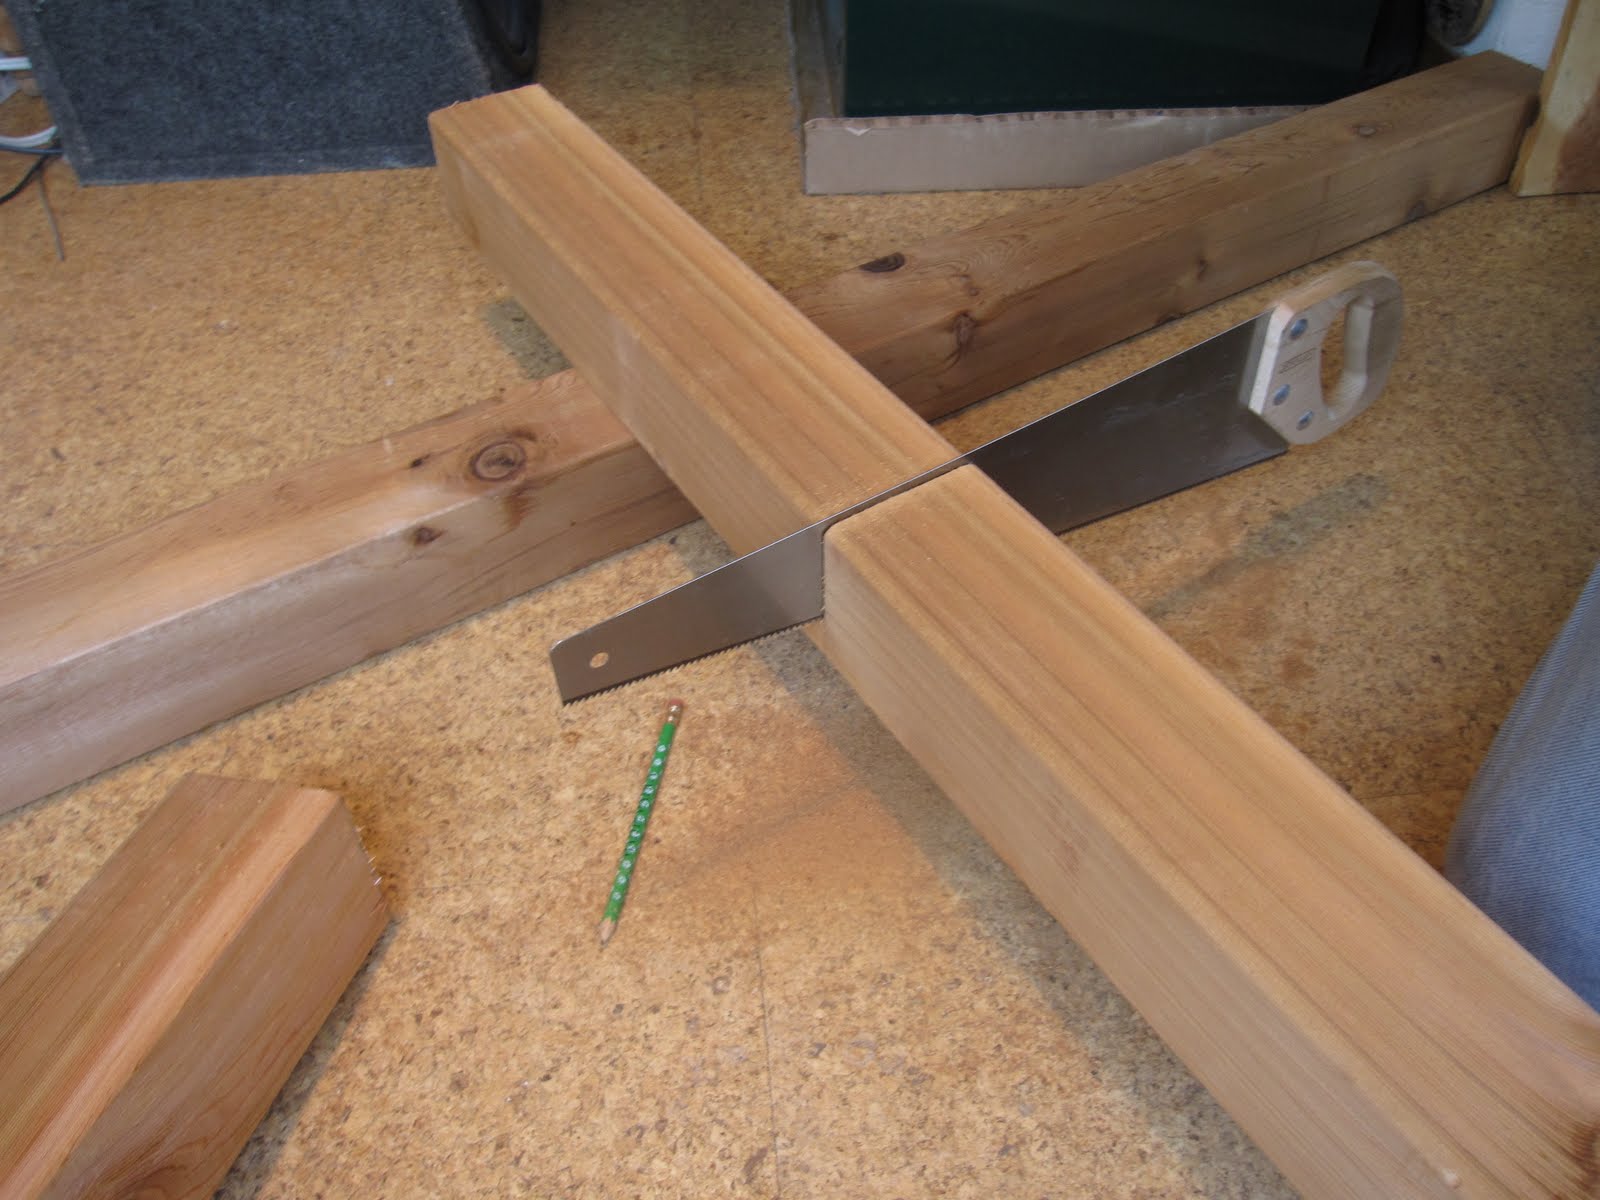
PART TWO - LEGS
12.)
i used the lumber itself as a sawhorse for cutting.
13.)
the first of 4 legs to support the desktop is cut perfectly!

14.)
i measured on all 4 sides for each cut.

15.)
usually, i tend to wing measurements a bit.

16.)
here, it was critical that i make perfectly perpendicular cuts.

17.)
the legs must be flat on the floor and mount flush to the desktop.
18.)
they were each cut to match the height of the tool cabinet.

19.)
the last cut i made splintered a bit.

20.)
i used this file to even up the splinters.

21.)
it felt good to work with the hand saw.
my beard?

22.)
my four freshly cut legs aligned perfectly!

23.)
my cuts look like they were made at a mill!
the legs are all exactly the same length.
i am very proud of this.

24.)
i swept the cedar sawdust for the jeep - air freshener!

25.)
the legs stand alone in their future home.

_________________________________________
_________________________________________
_________________________________________
_________________________________________
PART THREE - NOTCHING
26.)
the desktop didn't quite clear this corner by my computer.

27.)
i layed lumber down to notch and attach support rails.
2x4 rails would keep it from sagging along each side.
i temporarily used the cedar 4x4s under the desktop for support.

28.)
i aligned the desktop and 2x4 rails for measuring and fitment.

29.)
i marked the notch for removal.

30.)
a job for a jigsaw.

31.)
cut.

32.)
it.

33.)
out.

_________________________________________
_________________________________________
_________________________________________
_________________________________________
PART FOUR - DESKTOP STRENGTHENING
34.)
the 2x4 support rail would lie under the length of the desktop.

35.)
it was too long, so i cut it to match the notch.

36.)
it lies just like this, only UNDER the desktop.

37.)
i pre-drilled through the desktop into the 2x4 support rail.
pre-drilling prevents splitting.

38.)
the first screw is in place!

39.)
i use square bits and screws, FYI.

40.)
i countersunk the retaining screws.
i have previously used this desktop for painting.

41.)
the desktop is now secured to its support rails!
they will provide lengthwise rigidity.

_________________________________________
_________________________________________
_________________________________________
_________________________________________
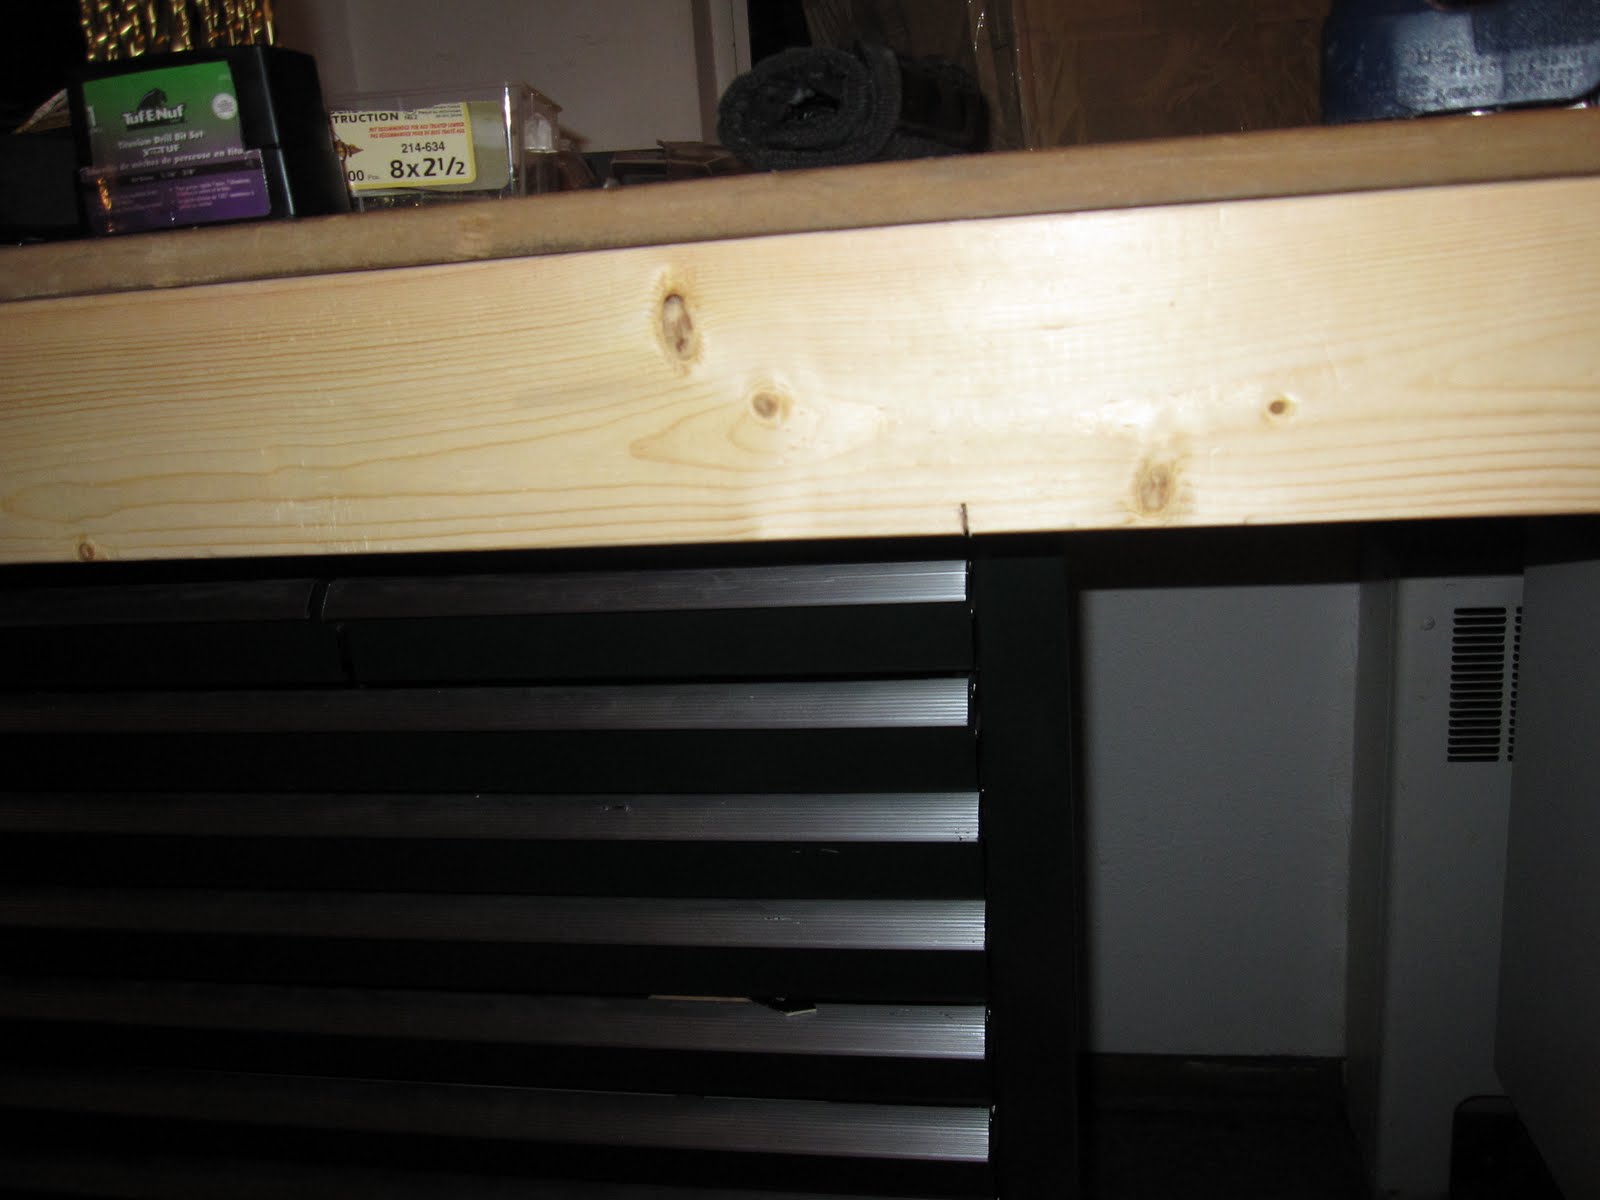
PART FOUR - ASSEMBLY
42.)
my 'first look' - i like what i see!

43.)
i put my tool cabinets in place under the workbench.
i had built it with their heights in mind.
the legs are cut flush with the cabinets adding support.
note my repaired chair.

44.)
i built this frame for my bigger parts cabinet.

45.)
the frame fills a gap between the cabinet and the workbench.
it is very tight, permanently wedged in place.

46.)
i pre-drilled holes vertically and horizontally.
this provides multi-directional stability.
when screwed in place, the assembly is complete!

47.)
one problem though...
the 2x4 rail prevented my top drawers from opening!
i used my jig saw to notch the rail.
48.)
first i drilled a small pilot hole at the notch end
then increased its diameter with a bigger drill bit.

49.)
with holes drilled, i cut with the jig notch to notch.

50.)
sweet.


_________________________________________
_________________________________________
_________________________________________
_________________________________________
2 comments:
Sweet work bench Andy! Cant wait to see all the cool stuff you make on it.
by the way the work bench is a piece of art
Post a Comment